How do I take good food photos?
I need food photography tips for restaurants.
Best lighting for food photography?
Stuck on how to photograph your food & drink in your hospitality business?
Use these simple ideas to show off your offerings in the best “light” possible. This checklist will help you shoot like a pro — even if all you have is your phone.
Generic rules:
Before you shoot, remember these
- Wipe the lens: Grease on the lens makes the photo look hazy.
- Use natural light: Always shoot near a window or outside. Avoid flash, harsh yellow lights, or energy-saving light (with the blue colour range).
- Work fast: Certain foods lose their fresh look quickly – get ready before the dish leaves the pass.
- Shoot multiple angles: Straight on, 45°, and overhead. You’ll see which one works best later.
- Keep it clean: Tidy the plate and the background. Wipe edges, remove clutter.
- Stop photographing exactly what you will serve: You are aiming to grab attention and create a desire to visit you, not to present the precise dish 100%.
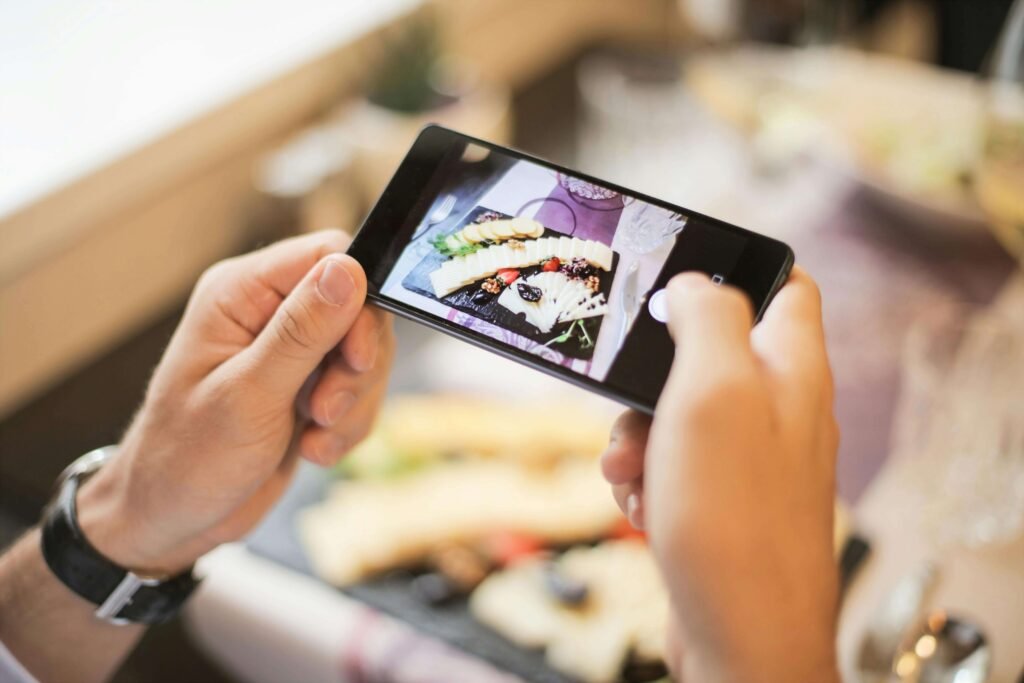
- Add life: A hand cutting a slice, reaching for a piece of food, holding a glass or pouring sauce adds action and warmth. It gives photos a sense of realism and action, making the image more relatable.
Plate presentation
• Wipe the edges:
Every plate should look spotless. Use a damp cloth or napkin. Wipe away any stray crumbs, sauce drips, or fingerprints from the rims of plates or glassware before shooting. A clean plate makes the presentation look more polished.
• Garnishing:
Too much garnish can distract viewers from the main dish, e.g. too much Parmesan can be a lot of white noise. Too much microgreens garnish overtakes the dish.
• Choosing the right serving plate:
White or neutral-coloured plates, with simple backgrounds, work best to make the food’s colours pop. Avoid busy patterns that might distract from the main subject.
• Build height:
Stack layers on the dish. It is easy with foods such as burgers and pancakes. Layers will make the food look better by showing more texture and adding depth.
• Add props:
Look around, what can you use from in-house? From the bar? From the tables? From the storage? Like napkins, utensils, decor, fresh ingredients, or brand-coloured items? Make the photo feel styled.
• Less is More:
An overcrowded plate can look less appealing. Use negative space to frame your dish and keep the focus on the food itself.
Lighting
• Natural side light:
Best near a window with soft daylight coming from one side. In harsh sunlight, the image becomes contrasty (e.g. very dark shadows). Make note of this and try photographing in a way that the harsh contrasts open up (e.g. use a different background, and as below said, “bounce light”)
Position your dishes near a window. You can also shoot in a well-lit outdoor area. Natural light provides soft, even illumination that highlights textures and colours. Overcast days are ideal as they produce a soft, diffused light.
• Avoid mixed lighting:
Turn off ceiling lights if they cast orange tones. Try to control the lights, e.g., if shooting by window light, turn off interior lights.
Never use your phone or camera’s built-in flash, as it creates harsh shadows and an unappealing appearance on the food.
• Bounce light:
Hold a white sheet of paper, a menu, a white foam board, or a napkin, facing the light source, to bounce light back onto the dish, brightening darker areas and reducing shadows. Or keep the shadows dark and the image contrasty. Depends on the style you want to achieve.
• Avoid direct sun:
Harsh light flattens colours – choose shaded daylight for smoother tones, or an overcast day without direct sun.
Position the light. Aim for side-lighting or back-lighting to add depth and dimension to your food. Avoid standing with the light source directly behind you, as this will cast a shadow over the dish.
Camera angles
• Overhead (90°):
Perfect for flat foods like pizza, toast, and sharing platters.
Tip: Stand on a chair (safely) and centre the dishes with space between them.
• 45° angle:
A popular angle that mimics how a diner sees the plate, ideal for most main courses and drinks. Photos with both food and beverages. Great for burgers, cocktails, or anything layered.
Tip: Shoot at table height like your guest’s eye view.
• Straight-on:
Best for tall foods like burgers, coffee cups, or bottles.
Tip: Keep the background simple, focus on shape and height.
• Use the rule of thirds:
Turn on the grid lines in your phone camera settings. Place your main subject or points of interest along the lines or at the intersections of the grid for a more visually appealing composition.
For vertical mobile photos, use one centre line for composition. Either place the subject on the centre line, or put it either side of the image’s centre line.
• Close-ups:
Zoom in with your feet, physically move closer to the food to fill the frame and highlight textures. Focus on texture – melting cheese, crispy crust, froth. Avoid using digital zoom on your smartphone, which can result in grainy or “noisy” images.
Creating appetite appeal
• Gloss & shine:
Spray a light mist of water or oil to make food sparkle. Use fresh herbs, a drizzle of olive oil, a sprinkle of spices, or a dusting of powdered sugar just before shooting to add colour and texture. Ensure all garnishes are edible and relevant to the dish.
• Movement:
Capture a drizzle of syrup, steam, chef adding garnish, or a fork mid-bite. Set the frame. Steady the camera & use burst mode to pick the perfect frame.
• Colour balance:
Keep colours natural. Whites should look white, not yellow or blue.
• Steam tip:
Steam shows best with a darker background and side light.
• Shoot quickly:
The longer you wait, the flatter and colder the food looks.
Common mistakes to avoid
Over-editing (too much saturation = fake food).
Mixing warm and cool light sources. Focus on correcting white balance, brightness, contrast, and sharpness.
Avoid using heavy, artificial filters. The final image should look true-to-life to manage customer expectations.
The cluttered background is stealing attention.
Tilting the phone too much – keep lines straight if possible.
That’s it.
I hope this helps you take better food photos that actually make people hungry.
Get a printable checklist. Download the Google Doc version here:
Download the Printable Food Photography Checklist
Want pro photos that sell the experience?
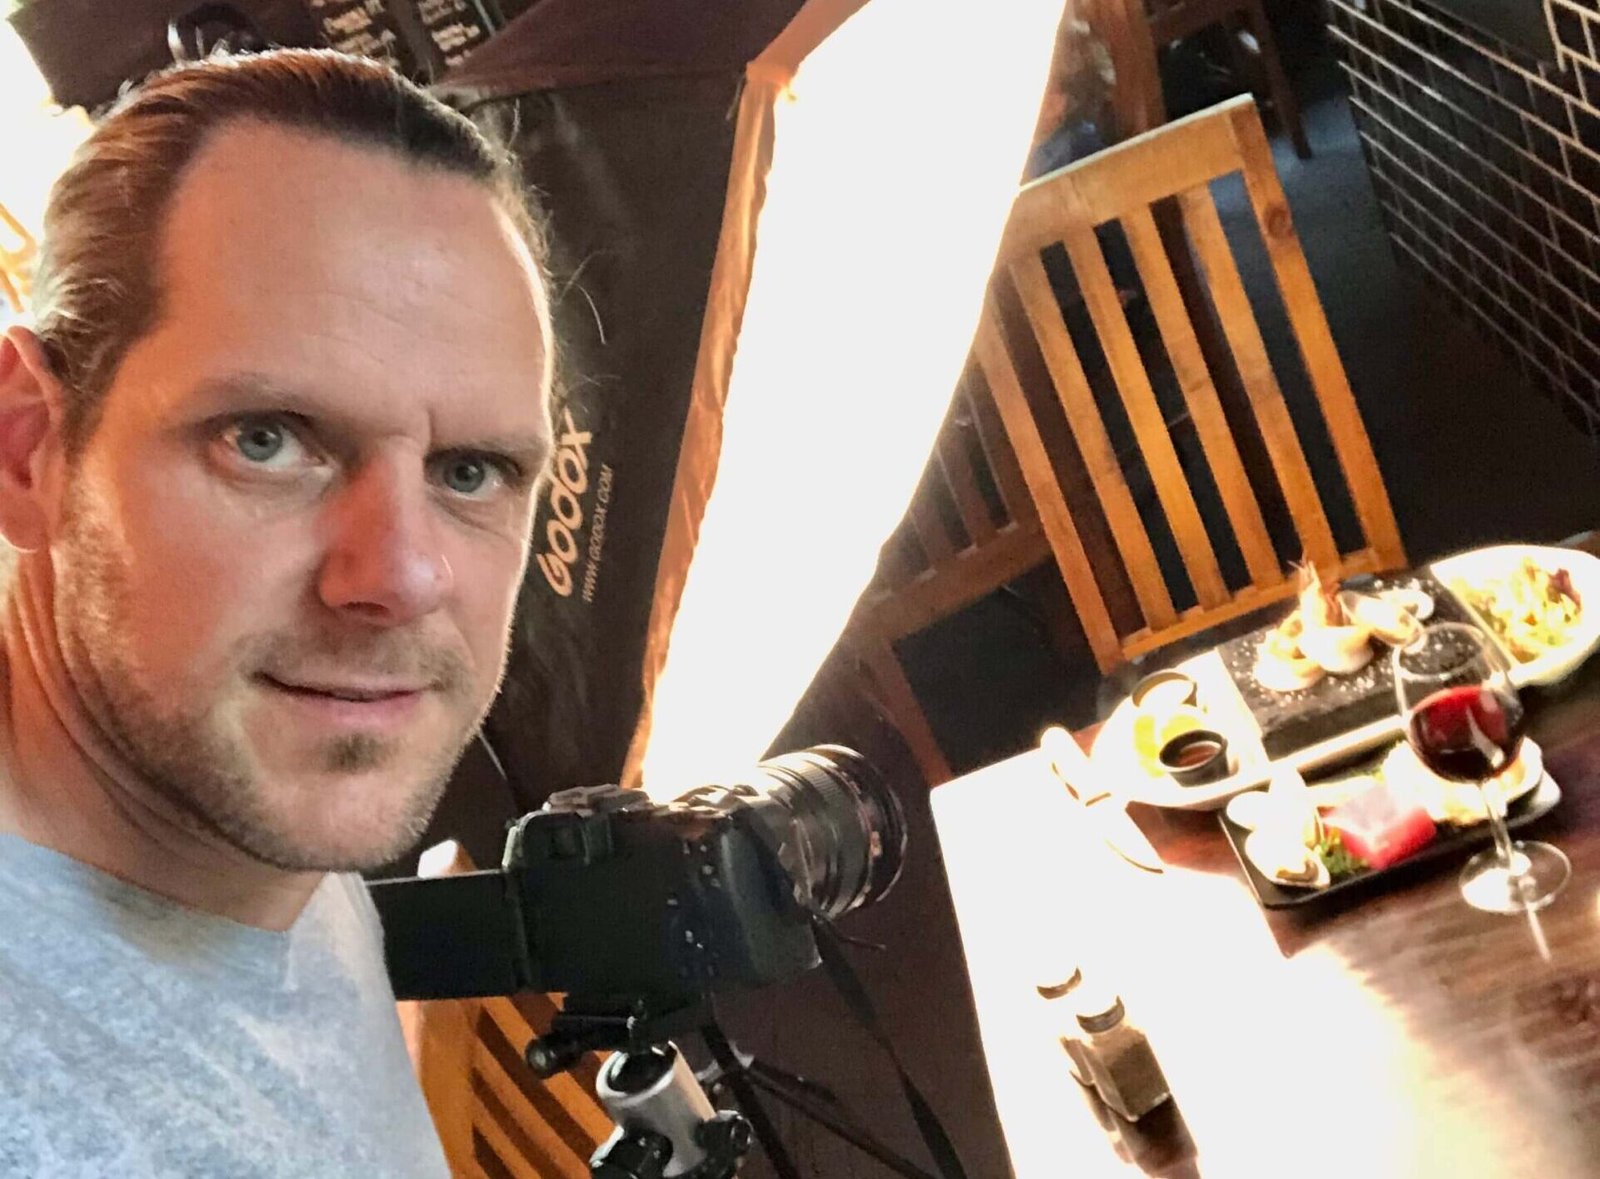
As a hospitality photographer in Christchurch, I shoot mainly hospo businesses.
If you have a project in mind, or just a question to ask, text me or fill out and send me this form: